Managing Project Categories
In this section, you will get to know how to view project categories.
You will also learn how to edit, search, create, add, and remove categories.
Viewing Existing Project Categories
To view existing project categories, do the following:
-
Login to platform.
-
Click the Collaborate module and then proceed to click the Annotation Project sub-module.
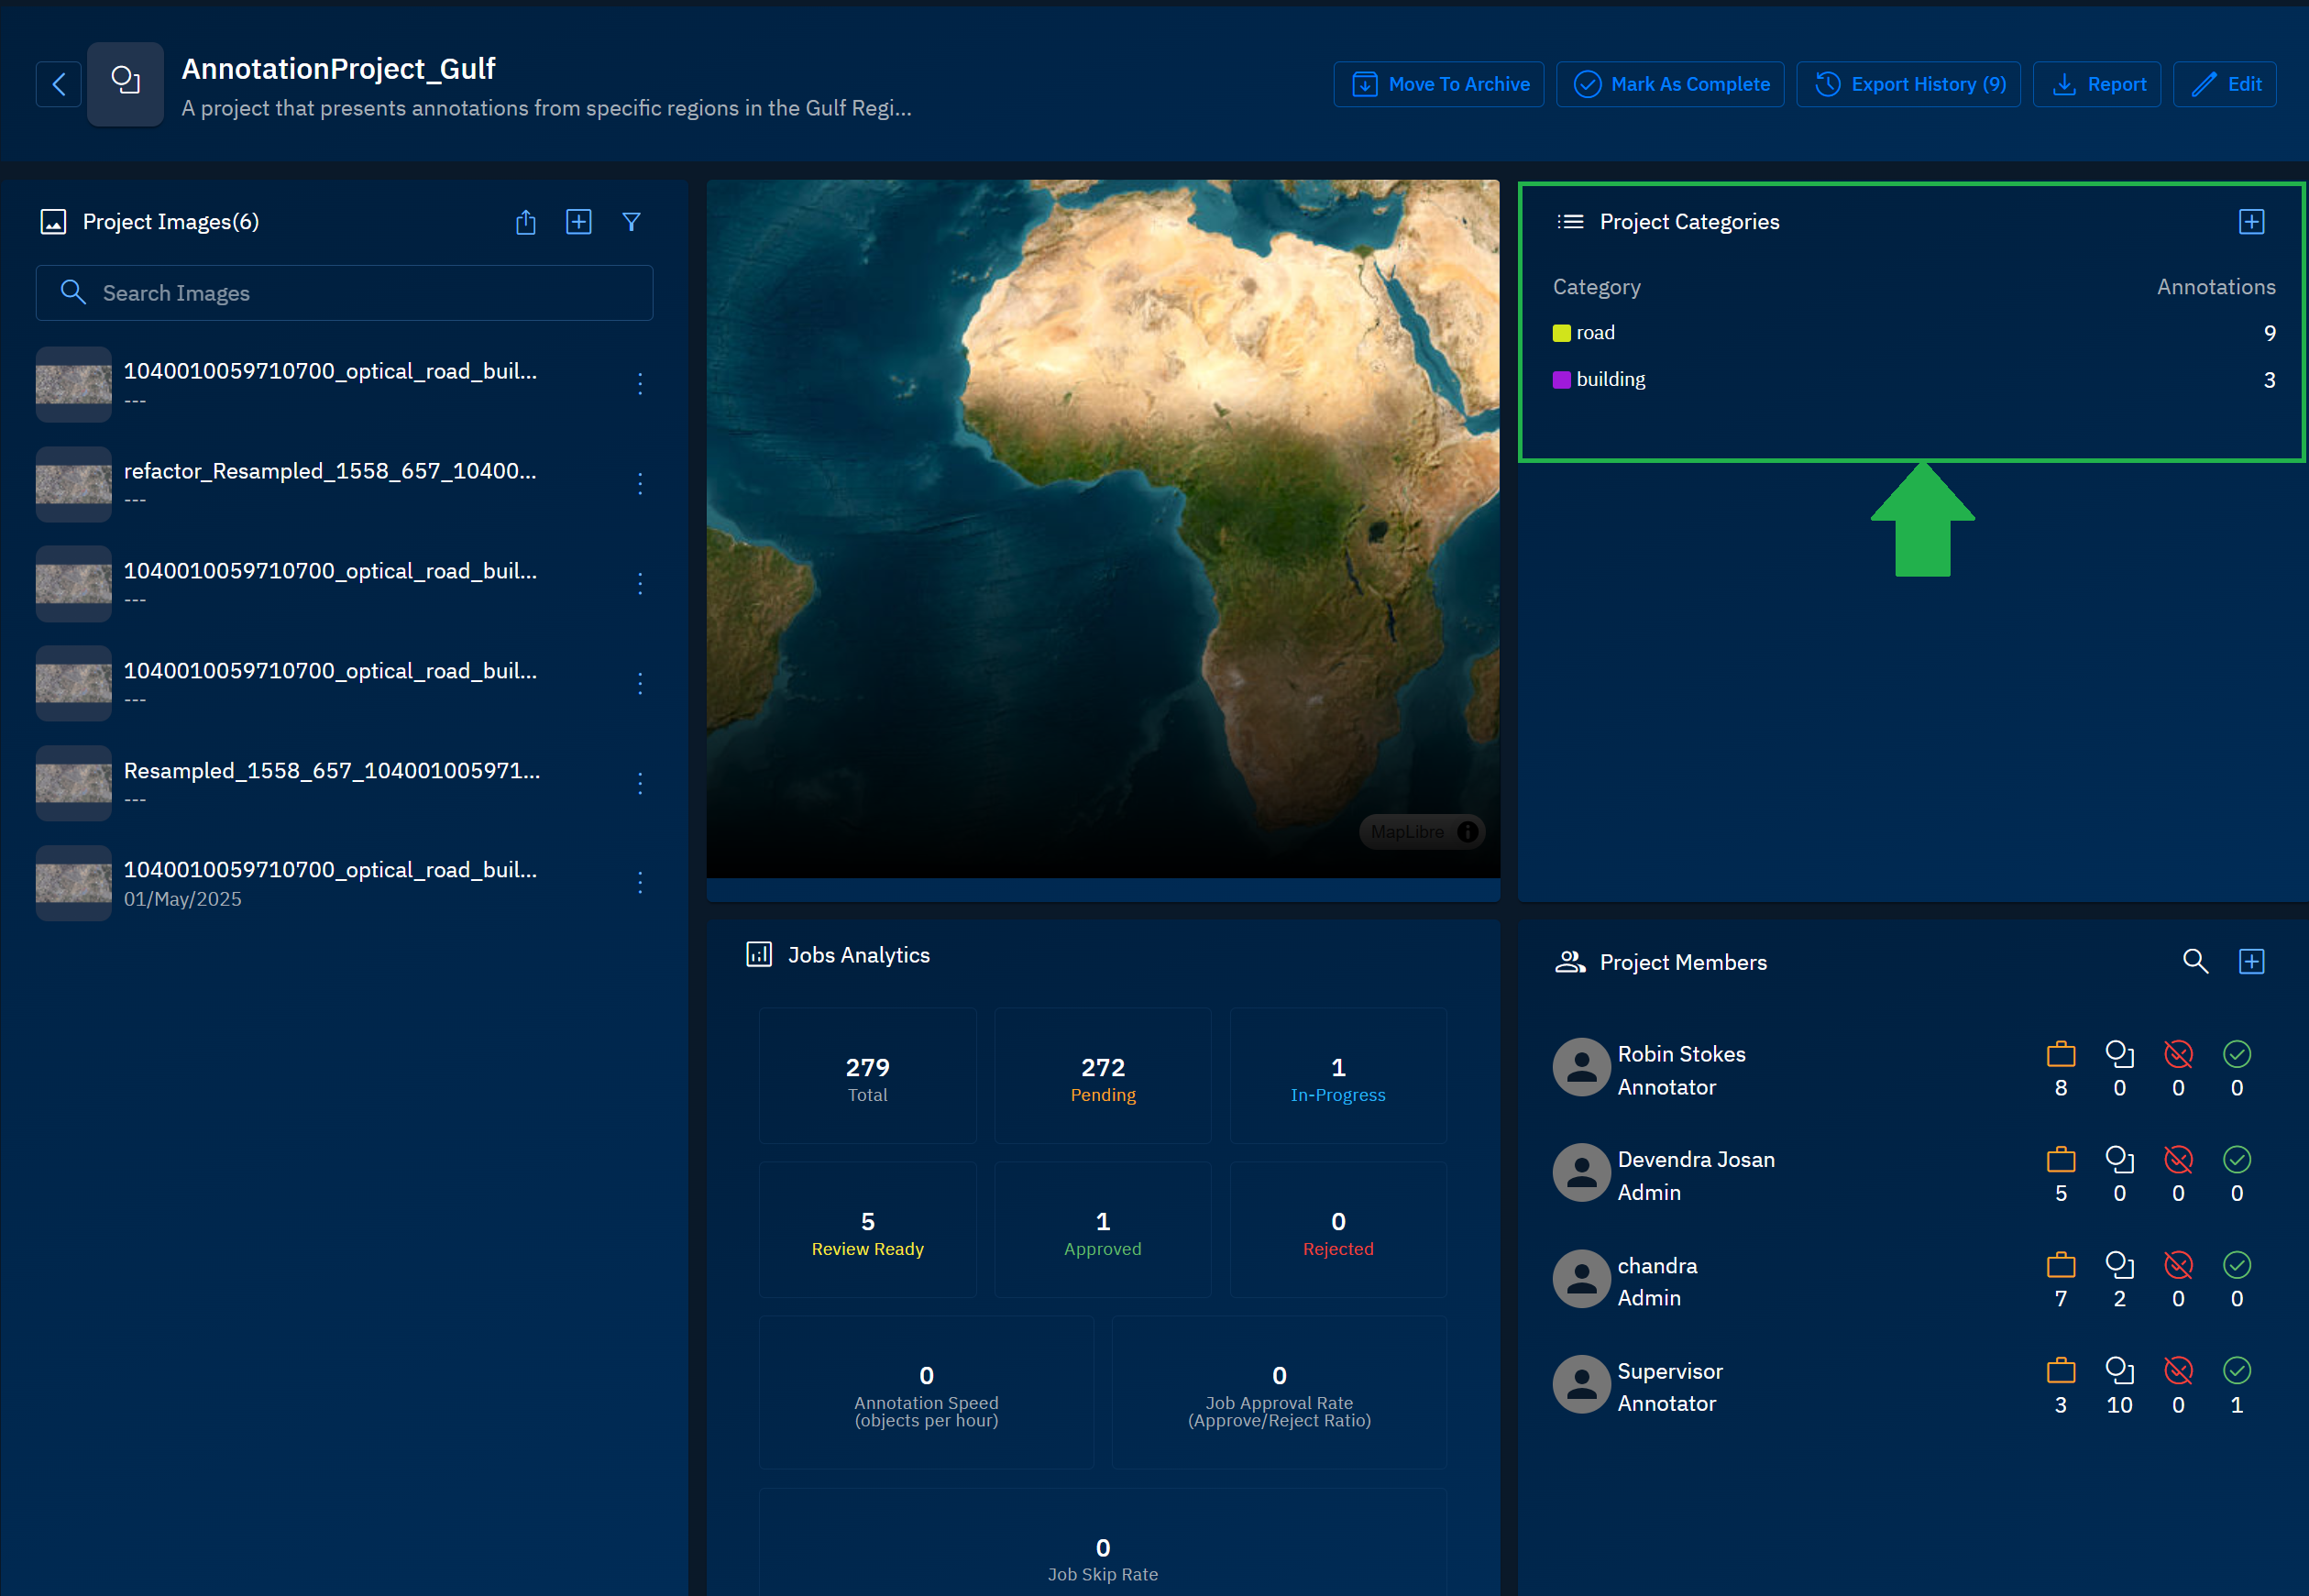
The Annotation Projects homepage is displayed.
-
In the Annotation Projects homepage, viewing the existing categories in the project.
Adding New Categories
In this section, you will get to know how to add Parent Category and a Child Category.
Adding a Parent Category
Let's add a parent category to an annotation project.
To add new project categories, do the following:
-
Login to platform.
-
Click the Collaborate module and then proceed to click the Annotation Project sub-module.
The Annotation Projects homepage is displayed.
-
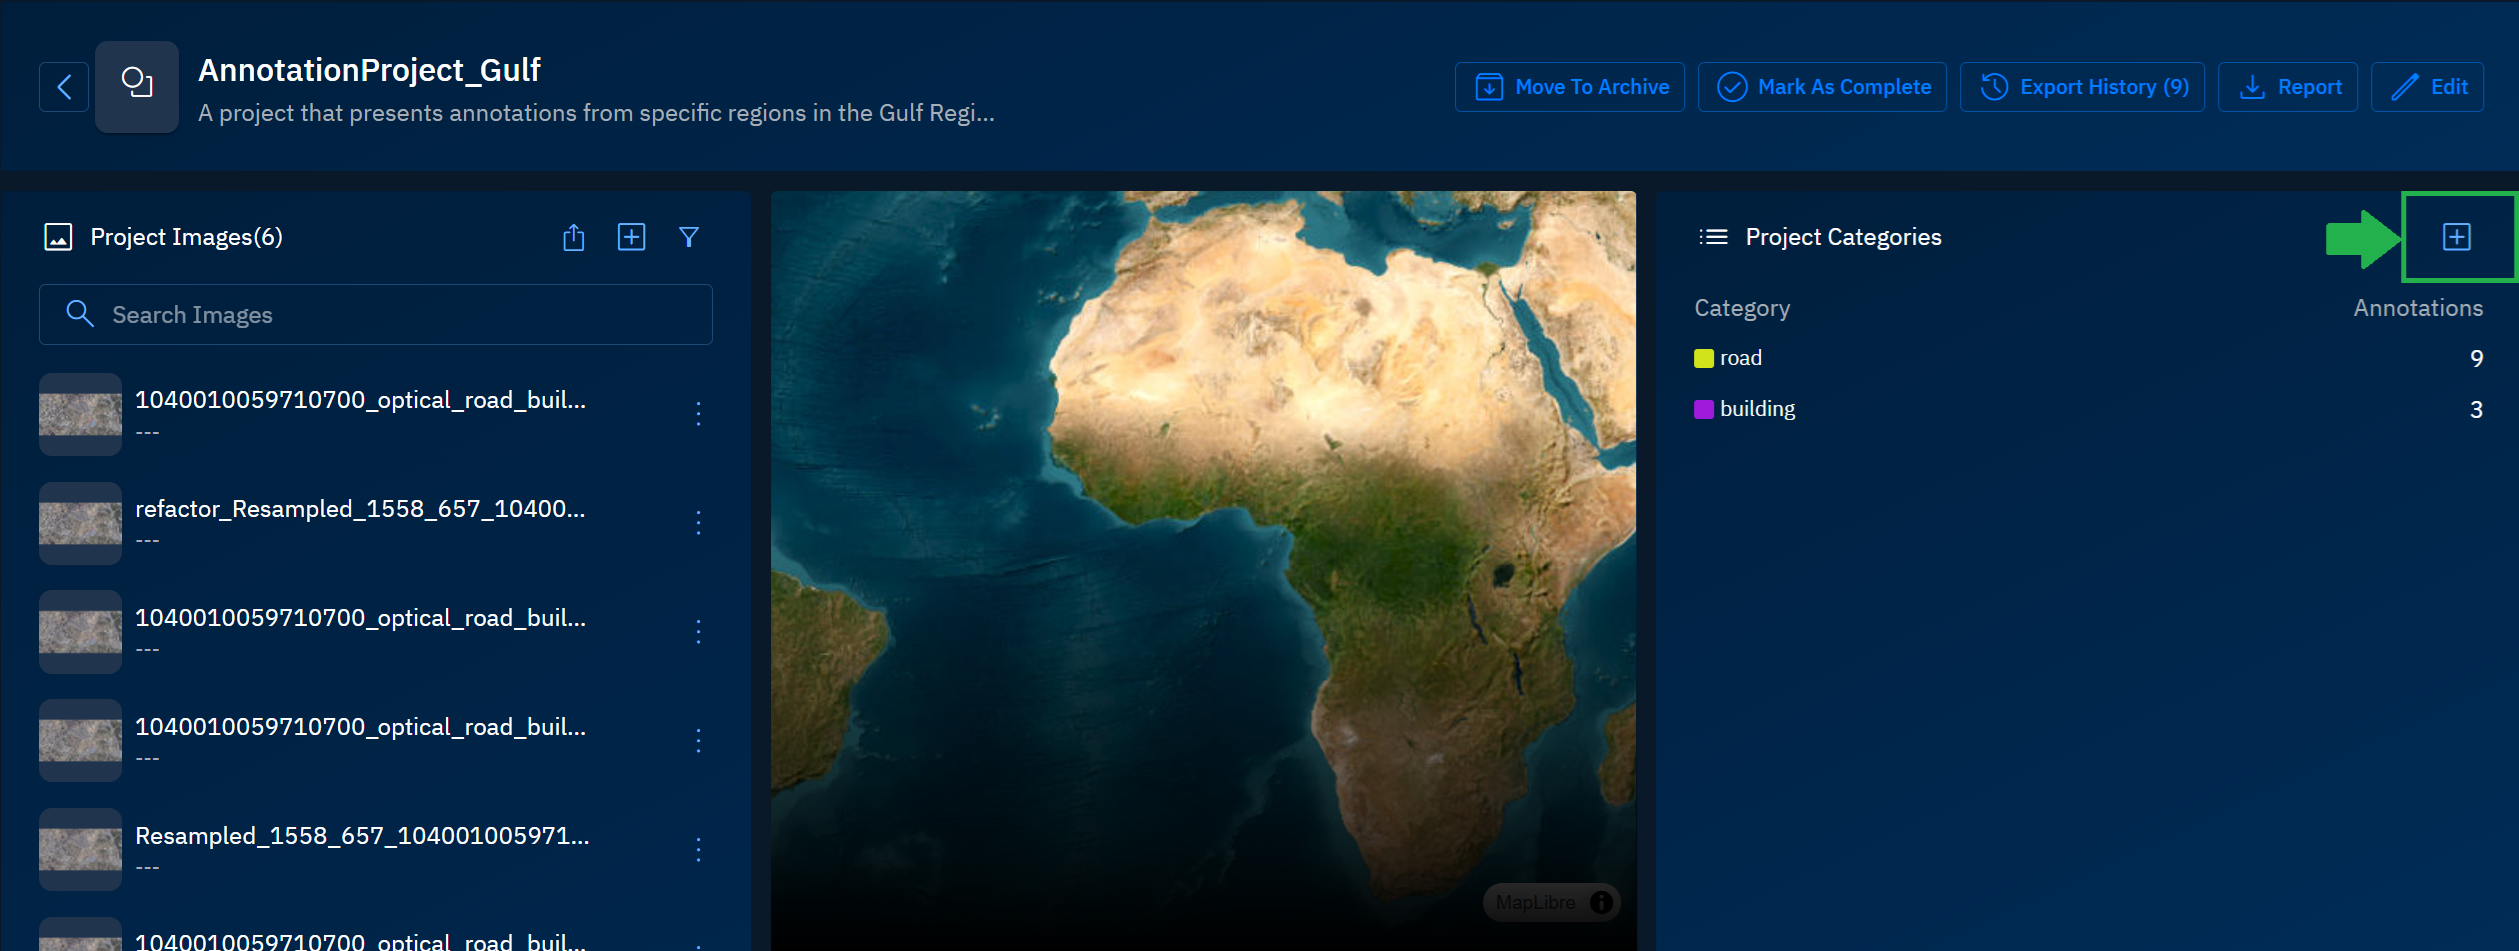
In the Annotation Projects homepage, click the + icon on the **Project Categories** area.
The Edit Annotation Project dialog box is displayed.
- In the Edit Annotation Project dialog box, click the + icon.
The Add Category dialog is displayed.
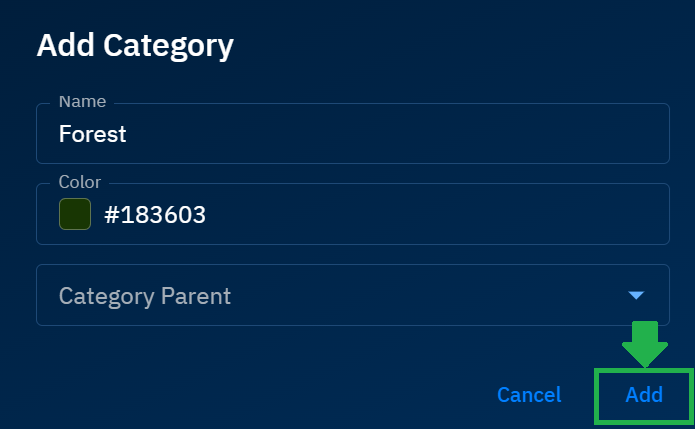
- In the Add Category dialog box, do the following:
-
Type the name of the category in the Name field.
-
Select a color for the category in the Color field.
-
Skip Category Parent step.
-
Click Add to add the category in the annotation project.
- In the **Edit Annotation Project** dialog box, click Save to save the changes.
Adding a Child Category
Let's add a child category (to a parent category) in an annotation project.
To add a child category, do the following:
-
Login to platform.
-
Click the Collaborate module and then proceed to click the Annotation Project sub-module.
The Annotation Projects homepage is displayed.
-
In the Annotation Projects homepage, click the + icon on the **Project Categories** area.
The Edit Annotation Project dialog box is displayed.
- In the Edit Annotation Project dialog box, click the + icon.
The Add Category dialog is displayed.
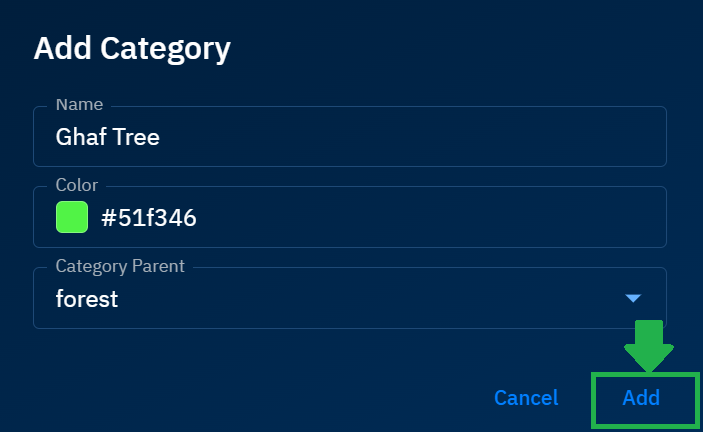
- In the Add Category dialog box, do the following:
-
Type the name of the category in the Name field.
-
Select a color for the category in the Color field.
-
Select a parent category from the Category Parent drop-down list to save the category as a child category under the selected parent category.
-
Click Add to add the category in the annotation project.
- Click Save to save the changes.
Removing Existing Categories
To remove existing project categories, do the following:
-
Login to platform.
-
Click the Collaborate module and then proceed to click the Annotation Project sub-module.
The Annotation Projects homepage is displayed.
-
In the Annotation Projects homepage, click the + icon on the **Project Categories** area.
The Edit Annotation Project dialog box is displayed.
- In the Edit Annotation Project dialog box, locate the category you want to remove, and then click the Delete icon in the Project Categories area.

The category is removed from the annotation project.
Searching for Categories
To search categories, do the following:
- Click the + icon on the Project Categories area.
The Edit Annotation Project dialog box is displayed.
- In the Edit Annotation Project dialog box, type the partial or full name of a category in the Search Images box.
The platform displays the category and child category as type the name.
Editing Categories
To edit categories, do the following:
- Click the + icon on the Project Categories area.
The Edit Annotation Project dialog box is displayed.
- In the Edit Annotation Project dialog box, do one of the following
- Add category to the annotation project
Click the ⏬ to select child categories of a category
- Remove a category from the annotation project
- Click Save to save the changes.